![[VIDEO] Quick designs for late customers - shiny nails STEP BY STEP](https://www.indigo-nails.com/media/magefan_blog/2020/04/video_szybkie_zdobienia_dla_spoznionych_klientek_–_blyszczace_paznokcie_krok_po_kroku.jpg)
Are you looking for quick and impressive designs? Watch the next episode on the Indigo YouTube channel and learn the master tricks that will help you conjure a phenomenal mani even if your customer comes late.
Is your customer late? 5, 10, 15 minutes and with her begging eyes asks if you can still make some magic party design on her nails today? You can offer one of the quick designs, which will delight every trinket lover, and you can still fit into the time schedule. Watch the next episode on the Indigo YouTube channel where together with Paulina Walaszczyk - nail styling master and long-term Indigo Educator - we present two nail art designs over the nudes: minimal with holographic tip and luxury gold finish.
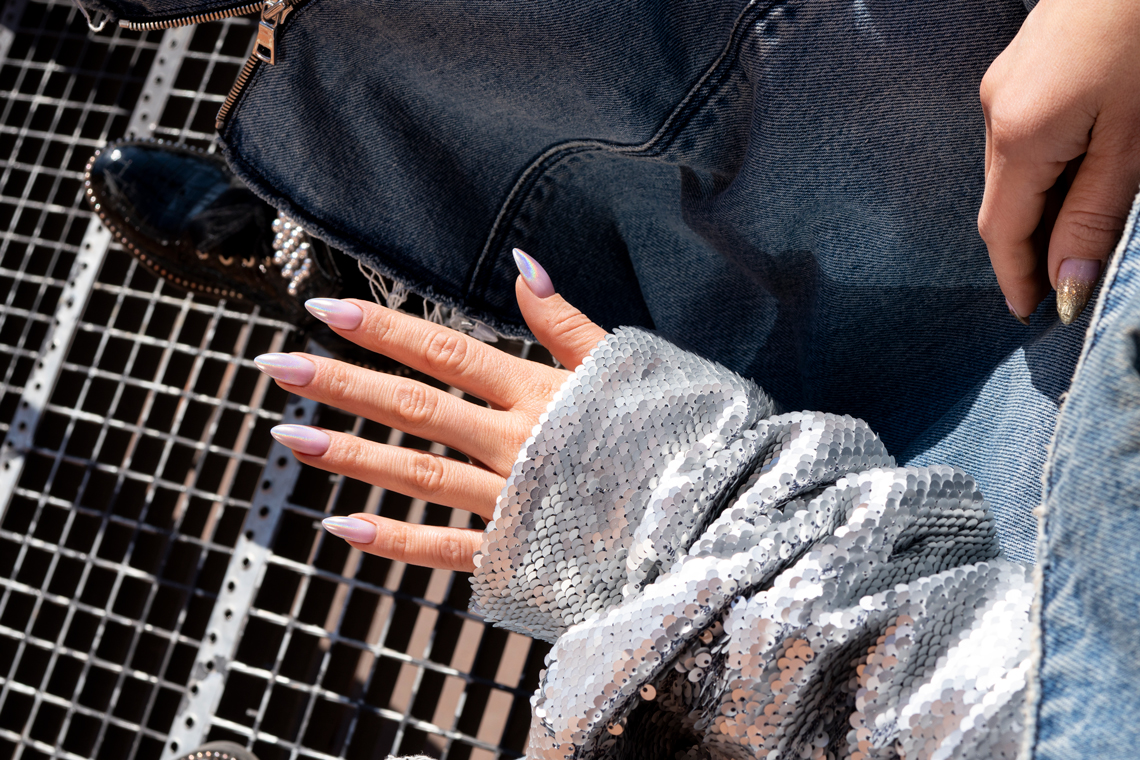
Holo Manix – holographic tip over the nude
You’ll need:
- We apply a Mineral Base Porcelain. It's a cool, and yet so universal shade of pink- suits any complexion. Cure for 30 seconds.
- Then apply Tip Top. A top must be a non-dispersion one as is required for Holomanix, which we will rub in a minute.
In the case of Tip Top, we first cure 4 fingers and only then the thumb. After reaching out of the lamp, we wait 10 seconds for the top to cool down, and we start to rub the nail dust.
- Nail dust can be rubbed with an applicator, (although it's somewhat stiff) the ombre sponge, which is definitely softer, and when we hold it with tweezers, we create a comfortable and precise work tool that lets you take on a bit of nail dust - and that's what this is all about. If we take on too much nail dust, then before we even know it, we'll cover the entire nail, and the shading is gone.
Remember to clean the sponge with a form. This way, we get rid of all the dirt and goo that could damage our design.
- We divide the work into two stages when doing Holomanix. First, we make the shade and gently rub it on the border with colour.
Note! Before we apply the nail dust to the nail plate, we shake off the excess to apply a minimum amount. We do it almost without pressure. We literally brush the surface.
- We add more nail dust to the very end of the free edge for better saturation. Here we rub a little harder. We can also have more product on the sponge than in the first stage of rubbing.
- After applying the nail dust to all fingers, we check whether Holomanix is at an equal height. Where the nail dust is lower, we add the product. We don't take on more from the box. We only use the leftovers that remained on the sponge.
- When the holographic shading is ready, we get rid of excess nail dust using a soft brush. A firm brush could scratch the surface and mess up the whole design.
- On the nails cleaned from the excess products, we apply Tip Top to secure the nail dust. We remember to secure the free edge during application. Cure for 30 seconds. Each finger is cured separately, one by one, to make sure that the top will not shrink around the free edge. Unlike the gel polish, Holomanix has no dispersion layer so that the top can slip a bit.
Note! Every time before we put the brush back into the bottle, we wipe it with a clean dust-free swab, because there are definitely particles of Holomanix in it that we cannot see with the naked eye.
If we do a lot of nail art designs with nail dust, it's worth having a separate top, which we use only to secure the surfaces of the effects. Even if we conscientiously wipe the brush off on a dust-free swab, sooner or later we'll catch some tiny particles of glitter or nail dust.
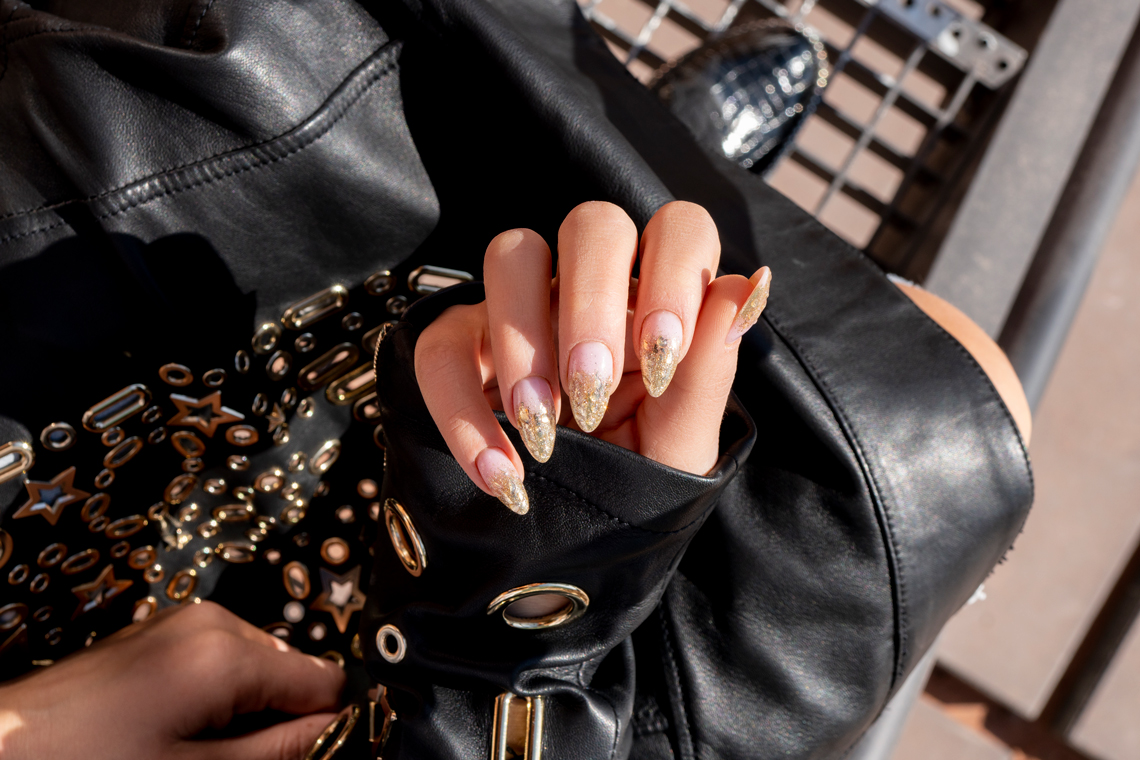
Metal Manix – quick luxury design
You’ll need:
- We apply our fav nude shade. We again reach for the Mineral Base Porcelain. We also recommend 2 new shades of Mineral Base: Golas and Sophisticated.
Cure for 30 seconds.
- After reaching out of the lamp, we stamp the transfer foil on the dispersion layer. Note that the foil has 2 sides. One is silver matt, and it's the one we will be touching the dispersion layer with. This side must not be touched with the fingers. It can make the surface greasy and will not stamp the foil well.
We cut off a piece of foil and wrap the foil around the finger and very gently touch the sticky layer of the lower half of the nail. We are pecking it because we do not want to get a surface covered entirely with gold; only in pieces.
- Take a little nail dust with a fluffy brush and sprinkle the transition between foil and nude gently. We want to get a gradient, so we pour it as if we were to make ombre with this nail dust. With a thin layer of nail dust, we create a shadow, which we will start grading in a second.
- We sprinkle a larger amount of nail dust on the very tip of the nail, soak the finger in the nail dust, remove the packaging from under the finger and gently massage the free edge.
It's important to move the box away because what will fall when rubbing is not reusable. Nail dust that has touched the sticky layer cannot go back to the box because it will stick together.
- We remove excess nail dust from the transition between the gradient and the free edge with a fluffy brush, covered entirely with Metal Manix. We remove the excess with Flower Brushes, working from the top of the bottom, in one direction, watching not to ruin the shading.
- Before applying the finish layer, let's tidy up the workplace. If any resistant piece of foil or nail dust sticks to the countertop, wipe it off with a Wipe Off liquid.
- Before placing the brush back into the bottle, clean it with a dust-free swab.
- If after curing, we see that the nail dust landed not only on the nails but also on the hands and the free edge, we ask our customer politely to wash her hands.
- We move to the last stage of design. We will highlight golden foil pieces by applying Tip Top drops. We use brush 004. We apply droplets irregularly and cure each finger one by one so that the drops do not melt. Best for creating the droplets is a dispersion-free top coat that does not need to be wiped off after curing.
- After curing all fingers, we place the whole hand into the lamp for 30 seconds.
- After curing, we wait 10 seconds for the top to cool down and apply the cuticle oil sparingly. You can apply it on a dust-free swab, and only then on the cuticles. If you accidentally flood the surface of the nail, the top will tarnish immediately.
You can do the same design using other colour combinations of Metal Manix and Transfer Foil. Combine them as you wish and find the perfect mix for you and Your customers.
Published:
30.04.2020
Updated:
07.11.2023