


Electro Princess Halo Genia - 3 G
Last 30 days lowest price 2.90 €
-

Secured payment Safe online transactions
-

Fast shipping Delivery up to 4 working days
Table of contents
Description
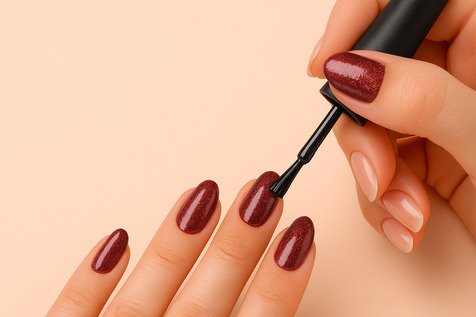
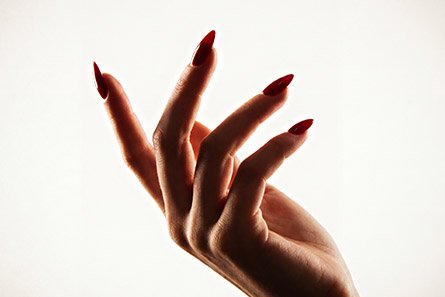
Do halogens give you a headache? Yes ... Well, unless they are on the nails! We swear - with the glow-in-the-dark Electro Princess Halo Genia, you'll start electrifying with light. Immerse it in uncured gel, build a fantasy french or choose an original design!
Product attributes
| Application for | construction nails, blended into the wet layer, Fantasy French |
|---|---|
| Consistency | loose product |
Benefits
- Glow-in-the-dark nail art
- Easy application onto wet gel surface or base
- Endless possibilities to create unique design
- Intensive colours
- Perfect addition to fantasy french or princess nails
Application tips
Design under a top coat
- Make any nail stying (gel polish, gel, acrylic, acrylic gel).
- Before applying the top coat, cover the nail with a thin layer of Effect Base or Protein Base.
- Apply the selected Princess effect to the base and create any pattern.
- Cure the base together with the effect in the MultiLed lamp for 30 seconds.
- Secure the particles with a top coat - Wet Look works best. Apply 1 thicker layer of the top coat and cure it for 60 seconds in the MultiLed lamp*.
- Wait 1 minute after removing the hand from the lamp. Remove the sticky layer from the nails with a cotton pad soaked in Shea Supershine Effect Cleaner.
* The decoration can also be secured with two thinner layers of top coat. In this case cure each of the layers for 30 seconds in the lamp.
Princess nails styling
- Start by washing and disinfecting the hands (yours and the client's).
- Push the cuticles up with a cuticle pusher or a stick, and shorten them with the selected cutter.
- Matt the nail plate with a 180 grit file, degrease it with Cleaner No. 1 and apply an appropriate primer.
- Rub Protein Base into the nail plate so that the matted texture is still visible. Cure for 30 seconds in the MultiLed lamp.
- Put on the template and build the extension structure with the selected gel. Cure for 30 seconds in the lamp.
- Spread a thin layer of gel on the nail and on the extension and do not cure.
- Arrange selected Princess effect from the cuticles towards the free edge so that the particles disappear approximately in the middle of the length of the natural nail.
- Cure the gel with particles in the MultiLed lamp for 30 seconds. Take off the template.
- Spread a larger portion of the gel on the nail so as to cover only the lower border of the particles. Remember to shade the gel and maintain the correct structure of the nail. Cure for 30-60 seconds, adjusting the time to the thickness of the nail.
- Cover the effect and build the rest of the nail around the cuticles with a transparent gel. Cure 30 seconds.
- Develop the shape of the nail with a 100/180 file.
- Clean the nail with a soft brush and wipe with Wipe Off Cleaner, then secure it with a top coat and cure for 30 seconds. If the top has a sticky layer, remove it with Shea Supershine Effect Cleaner.
Pro tips
If you are creating:
- princess nails: place smaller particles next to the cuticles - you will avoid air pockets and ensure a smoother and thinner finish;
- with acrylic: mix the particles with transparent acrylic in a separate jar - you will speed up the pace of effect application;
- with gel: mix the particles with the gel in a separate jar - you will speed up the pace of powder application.
Responsible Person
Indigo Nails sp. z o.o.
Recently viewed products
