![[VIDEO] French without secrets - how to do a French manicure step by step?](https://www.indigo-nails.com/media/magefan_blog/2020/07/video_jak_zrobic_french_z_biala_lub_neonowa_koncowka__neonowy_french_manicure_krok_po_kroku.jpg)
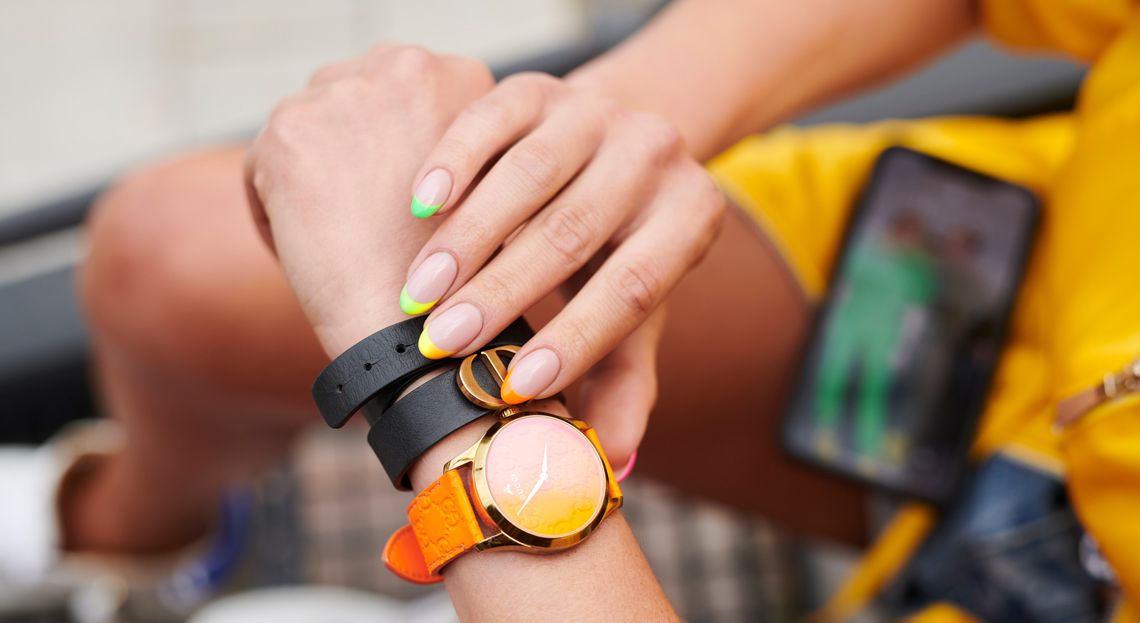
French without secrets - how to do a French manicure step by step?
French is a classic design that can be performed in hundreds of ways. Since the modification, possibilities are endless, it's worth having it in your offer. It isn’t just lovers of subtle manicures that may ask for it, but also customers in love with abstract, crazy designs that dream of a neon version.
Products used in the video:
• Mineral Base – Natural
• Mr.White gel polish
• Fluomaniac gel polish
• Neonek gel polish
• Ave Neon gel polish
• La Bamba gel polish
• Wet Look top coat
• Wipe Off Cleaner
• Super shine Cleaner
• Master nail Art 007 brush
• Master Nail Art 004 brush
French manicure - how to make a perfect white tip on every nail?
The rule depends on what shape we work with - whether it is an almond, an oval or maybe a square.
- On the nails build with Mineral Base Natural, we set the endpoints of the "moustache", and we mark it with white gel polish. If the nail is almond-shaped, it's the point in the middle of the free edge, if it's oval - there are two, close to the centre, and if we paint the french on square-shaped nails, these are two points dividing the free edge into 3 equal parts.
- We determine how high our 'moustache' will reach the sides of the nail. The important thing is for the endpoints to be at equal height on both sides.
- We connect the dots. With a small amount of Mr. White and using the 007 brush, we paint straight lines to mark the initial shape of the French. The wider the shape, the more distance between the lines are (square shape), and the narrower the end is - the more lines merge into a point (like on an almond-shaped nails).
- To mark the height of the French, all you need is just one straight line. How high you want to paint it entirely depends on you. Paulina usually does it no higher than on 1/4 of the nail length.
- We round off the edges with 007 brush and Mr.White gel polish. We start with the middle line and pressing the brush at an angle of 45 degrees, leading an arc, ending with the "moustache" lines. First one side, and then we do the same on the other. We run the line steadily and smoothly, to give it a nice smooth and asthetic shape.
PRO TIP: If you are right-handed and it's problematic for you to paint the left part of the french, you can turn your hand and viola – you’ll still do the right side of the arch. The same applies to left-handers, who may have a problem painting the right part of the arc. Just turn your hand around.
- We fill the outline using 004 brush and white gel polish. We take a small amount of the product and paint the tip, remembering that the layer should not be too thick and have no streaks. Cure it in a lamp for 30 seconds.
FRENCH MANICURE - MOST COMMON MISTAKES
- Too much of white gel polish.
If we apply the white gel polish too thickly, the problem we will end up with is improper curing and an unsightly level difference. - Too little of white gel polish.
If we apply not enough product and the layer will be too thin when trying to brush it all over the nail surface, we will end up with streaks. - Too high.
If we paint the french too high, it will become too wide, and it will look thicker and will shorten the nails. - Too low.
Painted too low may look poor, but all that depends on the design style. Many girls paint thin frenches, and it looks great. - Arch curve.
In French, what's important is the degree of bending. If we run the 'moustache' too high, the so-called "dramatic french." This version will not fit every nail shape, and every mistake we made when creating the design, will become very visible. On the other hand, a too little curved French stops being a French This version will look good on feet. It will work on hands only if the lines are really thin and the nails are square.
How to create neon French step by step?
Neon design on nails built with a Natural Mineral Base.
- With the 007 brush and Mr. White, we paint points, lines on the side, to determine the height and combine everything into arches.
- We pick a bit more and fill everything with a 004 brush. The whole design goes into the lamp for 30 seconds.
- When a beautiful, perfect french appears on each nail, we have two options: either we cover it with a top coat (Wet Look or Tip Top), and we get snow-white painted french or, as in our case, we continue with neons.
- We prepare a sponge. we cut it, forming a wide stamp. This time, we do not place the sponge lengthwise in the tweezers, but across to stamp only the tip along the entire width. We clean the sponge using the nail form.
- We place a drop of Fluomaniac, Ave neon and La Bamba on the slide. With the 004 brush, we cover white french on the pinky finger with Floumaniac. The colour layer is not abundant, we do not want to thicken the tip, but only cover it with neon. We cure it for 15 seconds in the lamp.
- On white french tip on the ring finger, we add a drop of Fluomaniac and Neonek and blend the colours with a sponge. With a pulsating motion, we shade the colours by moving from one side to the other, remembering that each time we cover the 'moustache' of the French, we only use one side of the sponge. If the sponge absorbs too much product, we can add it again, drop by drop, and continue blending. The sponge 'drinks' the colour instead of giving it away, so you can add more colour when doing the first layer of ombre.
- On the middle nail, we'll do the same, but we'll use two other colours: Neonek and Ave Neon. We turn the tweezers and use the other side of the stamp. We blend from right to left.
- Time to clean the cuticles and french. Soak a dust-free cotton swab in Wipe Off cleaner, wipe the brush against it to gently moisten it (it's best to use the square side of our double-sided gel brush) and wipe the surface above the French line. We also clean the nail folds with Wipe Off and cure in the lamp for 15 seconds.
- On the index finger, we will cover the french with Ave Neon. As in the case of Fluomaniac, we only add the colour to cover the white surface, and not thicken the french. Cure in a lamp for 30 seconds.
- Time to boost our ombre: we add neon drops on the ring finger again and blend - as before, from side to side, lifting the sponge by the 'moustache'.
- We repeat the step on the middle finger using Neonek and Ave Neon. We clean both french and cuticles and cure it in the lamp.
- We correct the colour with what's left in the sponge, with the same movements as before, but we no longer add any colour drops. We also squeeze it on both nails at once, then clean them again and cure 30 seconds in the lamp.
- We move to the thumb. With brush 004 we pick a bit of La Bamba from the slide and apply a thin layer on white french. Cure it separately in the lamp for 30 seconds.
- We secure everything with Wet Look top coat to level the difference between French tip and Mineral Base. We do the same with each nail. When we applied the top coat on the index finger, the whole lands in the lamp for 60 seconds. In case of a thicker application of top coat, it’s curing time should be extended, so it cures correctly and you get a beautiful, long-lasting shine.
Wet Look on a gel polish? Yes, if we strengthened the gel polish with the gel polish base at the beginning. Wet Look is excellent for those nail techs, who like medium dense top coats. It levels the surface and creates a perfect light line.
- We do the same on the thumb. We also apply Wet Look on the thumb, level and cure for 60 seconds.
- After curing, wait about a minute for the top coat to cool down and wipe the dispersion layer with a Super Shine Cleaner. To remove the dispersion layer (sticky layer) correctly, we use a few dust-free swabs.
- Using a dry dust-free swab, we polish the nail to remove all the Cleaner and… our neon French is ready!
If you liked these nails with neon accent, you can’t miss this THE EPISODE, IN WHICH WE PRESENT HOW TO PERFORM A STUNNING RUFFIAN MANICURE USING THE LATEST FLUOMANIA COLLECTION.
Published:
02.07.2020
Updated:
07.11.2023