

Each year brings new trends or promotes fashion that’s been forgotten for decades. There are cases, however, when a certain style can stand the test of time and be popular for years. A great example are the so-called “marble nails”, which from a curiosity of one season have become one of the most popular methods of nail decoration.
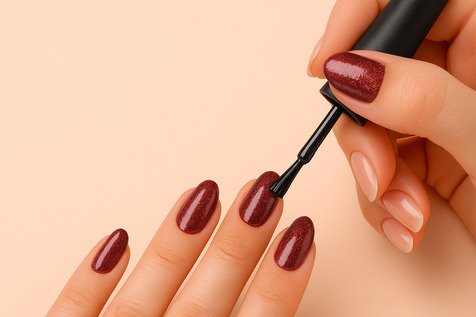
Marble nails have been winning the hearts of new customers for almost two years now. The secret of their unwavering popularity lies in their spectacular appearance and relatively easy application. Achieving the seemingly complicated effect should not be a difficulty even for beginners – a bit of patience and knowledge in hybrid nail design will be enough.
Versatility of marble nails
The power of marble nail designs also lies in their versatility. The effect reminiscent of a marble floor is perfect as a complement to both an elegant dress or a more casual outfit worn every day. For this reason, marble nails can be successfully during business meetings, as well as during informal parties with friends or family gatherings. The marble effect on the nails will look very attractive on any occasion.
How to create marble nails? Step-by-step application
Creating marble nails is not as time-consuming as it might seem at first glance. Of course, it’s best to visit an experienced nail artist in a professional salon, but a bit of knowledge and a skilled hand you you can create marble nails at home.
- The first step in any hybrid nail design is to manage the cuticles and give your nails the desired shape (see our article about shapes of nails and how to file them).
- After completing this, we can start the matting procedure, followed by degreasing with a Cleaner. A base (e.g. “Protein Base”) can be then applied on the appropriately prepared and matte nail plate, and cured using a UV or LED lamp.
- The next step is to apply two layers of a selected hybrid nail polish and cure each layer for about 2 minutes.
- Then we can start with the black hybrid nail polish (e.g. “Black” or “Arte Brillante”) while creating irregular lines.
- The next step is to create a marble effect. To achieve this, it’s necessary to use a brush for decorations (e.g. “Aquarell Sting”) and cleaner to obtain a blurred look appropriate for this method, and then use a lamp to cure the layer.
- Finally, you need to take care of the delicate contours – the best way to do this is to use the thin brush offered by Indigo Nails under the name “Nail Art 006”.
- After curing, the whole design should be covered with a hybrid top coat (e.g. “3D Gloss”).

Out of stock
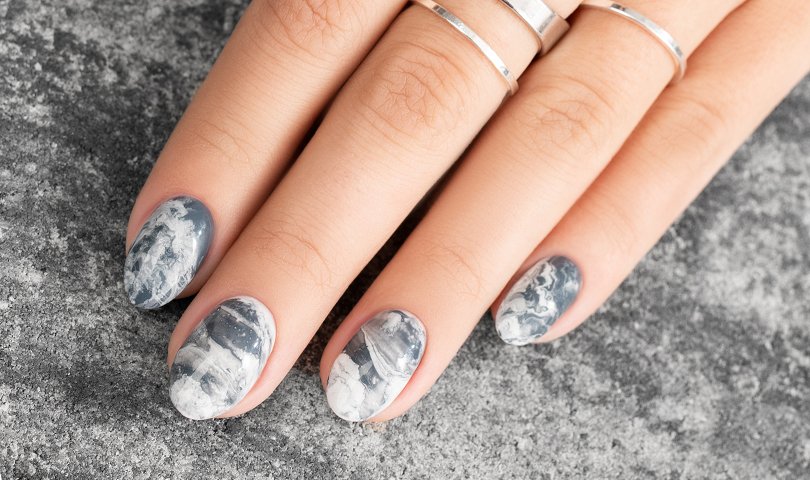
The most fashionable colours of marble nails
The most fashionable colours used to achieve the popular “marble effect” on the nails include: white, black and various shades of grey. Using them to create irregular lines allows you to achieve an eye-catching effect. An equally interesting solution is using contrasting colours – for example, combining matte colours with glossy ones. Marble nails can be further enhanced with selected additions, like rainbow colours, stickers or patterns. The only limitation is our imagination!
Published:
10.01.2019
Updated:
06.11.2023