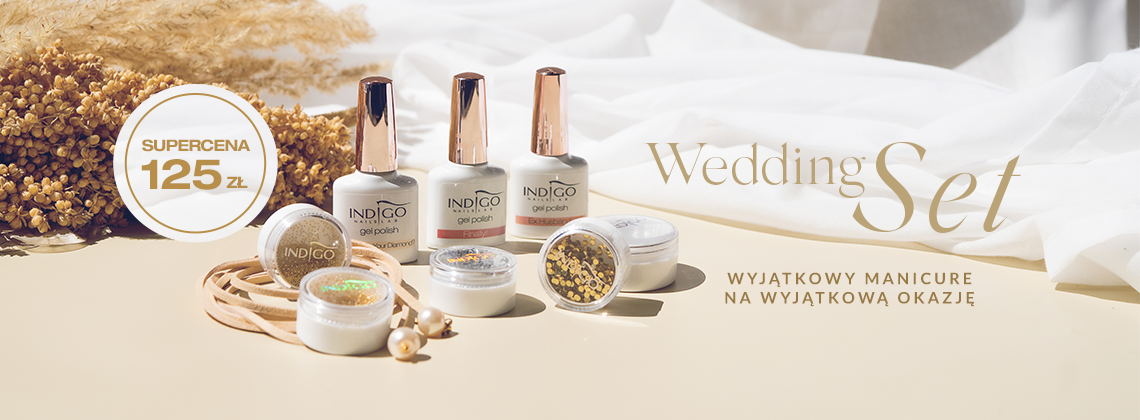
In the next episode on the Indigo YouTube channel - together with Katarzyna Wojtczak - the master of nail art designs - we show you how to make quick, simple and spectacular wedding designs with a few products. And if that's not enough, we also present our new Wedding Set - a set of products perfect for wedding nail art looks.
Products used in the video:

Out of stock
What gel to use for wedding nails extension?
We have extended the nails with the Perfect Clear gel - it's perfectly transparent both in the box and after curing on the nails. Indigo offers 2 clear gels - Take Your Time and Perfect Clear. Take Your Time is a very hard gel and although it burns in a lamp, it guarantees a long-lasting style, resistant to external damage, which may happen more often in the heat of pre-wedding prep or during the madness of the wedding.
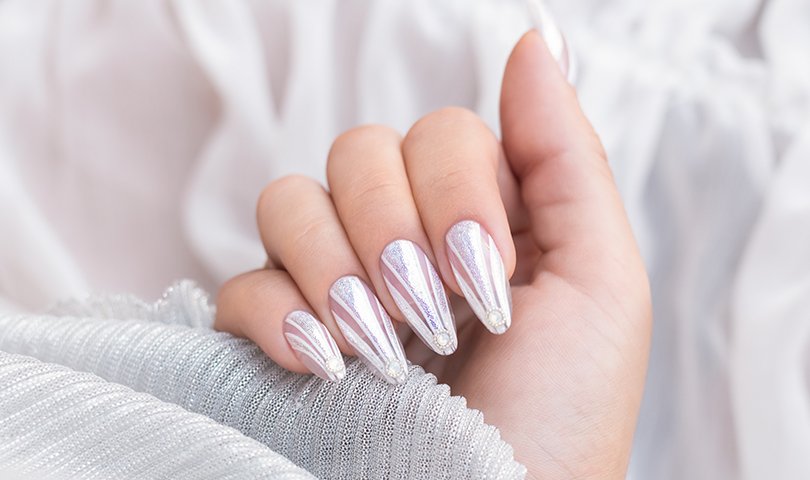
Idea for a wedding manicure with Pixel Effet and gem - step by step
- We start with the pinky finger. With the 007 brush we paint 3 lines in the shape of an arc. We run the brush slowly and as flat as possible, because we want to get a fairly thick and wide line. We do not approach the cuticles with the colour too much, because in a second we'll be rubbing the nail dust into the dispersion layer, and we do not want the particles to stick to the cuticles.Cure for 30 seconds.
- Sprinkle the entire surface with the Snow White Pixel Effect, then remove the box from under your finger and start rubbing the nail dust into the dispersion layer.
- We clean the surface with a brush. It's important that its bristles are soft; this way, we will not scratch the surface.
- We apply a Tip Top top coat. Cure for 30 seconds, and in a moment we'll paint the lines with Arte Brillante gel. Do we have to wait for the top coat to cool down before we proceed? It depends. If you bet on your life, that you will run the lines perfectly and there will be no corrections, then yes. However, if you’re afraid that something goes wrong, wait a second until the tip top cools down.
- With 007 brush and Arte Brillante White gel, outline the existing arches, again guiding the brush as flat as possible. Cure for 30 seconds.
- The icing on the cake will be the cubic gem and caviar. We mark the centre of the free edge and apply a small drop of Protein Base.A properly selected drop size will prevent the Protein Base from flowing out from under the gem, it will not spill over the stone, and thus we will not lose the sparkle in the cut of the stone. We cure it for 5 seconds so that the stone does not move.
- We sprinkle the caviar into the Protein Base - not next to it because it will fall apart in all directions. We reach ball by ball with the bristles of the brush, draining them before they land on the nail. This way, after the design is cured, there will be no need to wipe the dispersion layer.
- We make the same lines as on the pinky finger. One coat of Mr White is perfectly enough. We apply the colour under the cuticles with 007 brush, but not as deep as usual. Cure for 30 seconds.
- We sprinkle Pixel Effect. What doesn't hit the nail falls back into the box. We move the packaging aside and massage the nail dust into the dispersion layer, obtaining a surface. Clean the nail of excess Snow White - if any particles have become electrified and do not want to come off the transparent surface, remove them with a cuticle pusher.
- We cover the designs with Tip Top and cure for 30 seconds.
- Time for white lines - we run the brush flat, and we think about making our lines a bit thicker at the top and narrowing downwards. When picking up the product on the tip of the brush, we can take a bit more - then our line will become wider at the cuticles. Of course, we cannot overdo it, so as not to flood them. Cure it for 30 seconds.
- It’s time for gems and caviar. Remember that Protein Base will hold both as tight as glue. You just have to remember not to apply too little - then it won't keep the ornaments, or too much, because it will flow out.
- It's time for the middle finger. We do the same as on the previous ones. The most demanding element is to route the arches symmetrically, and then, everything will do itself. It's comforting that even if our hand shakes, and the pixel bows do not come out perfectly symmetrically, we can correct them a bit with the white Arte Brillante, that we use after shining the designs. If your customer wonders how long the stones on the nails will last, you can assure they’re going to last. However, it's impossible to predict, but you can reassure the customer that this caviar around the cubic gem acts as a cushioning and minimizes the risk of tearing out precious stones from the tip of the nail.
- We start painting the lines on the pointing finger, the lines that we will sprinkle with a Snow White Pixel Effect. Can such an ornament be done, for example, on two-week-old nails that we had previously worn with perfect clear? Not really. First, regrowth. If we don't do infill, the surface will break between the natural nail plate and the already grown area. But it's known that it would still be possible to do an infill. However, there is another element, and these are natural nails - the free edge of the nail that will grow back. A natural ivory nail will not add charm to these transparent nails. It will just stick out and not really look good.
- When applying the nail dust, we can help ourselves by soaking the nail tip in a box. We massage, get a surface and get rid of excess nail dust - with a soft brush, such as our Ice Cream.
- We apply the Tip Top, remembering to protect the free edge, and cure for 30 seconds.
- We skip to the white lines. Note - with the same brush, 007, we make the initial with Mr White, an arches and the white lines finishing the design with Arte Brillante gel. When switching from product to product, the brush must be cleaned each time. How? In a liquid base - e.g. Liquid Base. We apply a drop on the slide and massage the brush in it, so that the colour comes out from the center of the bristle. If someone does not feel very confident, they can work bit by bit, curing a line that has already been painted.
- Before curing the stones, it's worth checking if the gems have been placed correctly, comparing the finger with the others. We put the finger to the finger in such a way that the level of the cuticles is at the same level. Then you can see if the stones are placed on each nail in the same place.
- When creating lines, we can divide our work - that is, first make the first line, sprinkle it with a pixel effect, massage the nail dust into the dispersion layer, clean with a soft brush and go to two sidelines. But, please remember - we do not cure the design while making. If we were to do that, we could burn the dispersion layer on that first arch, and we would get bald patches.
- We clean the surface with a soft brush and apply a Tip Top. Cure for 30 seconds.
- Clean the 007 brush in Liquid Base and proceed to the outline with the white Arte Brillante lines.
- At the end we put gems and caviar glued on the Protein Base. We cure it… and the wedding nail art design is ready!
Published:
27.07.2020
Updated:
07.11.2023