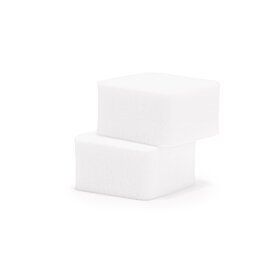
In the offer of the Indigo company, you will find all the tried and true, highest quality accessories for nails, which are bound to help you style nails!
What are dust-free wadding swabs for?
Dust-free wadding swabs can be used for degreasing the surface of the nail, removing the dispersive layer after styling, cleaning brushes and tools after use, and evenly pressing the transfer foil to the nail surface. If you want to remove hybrid manicure, you just have to pour a little of the remover onto a swab and wrap the finger in aluminum foil, and the nail enhancement will be delicately dissolved.
What is a dust remover brush for?
A dust remover brush makes it possible to remove the dust which falls onto hands and nails during treatment.
How to put on a nail template?
Push the cuticles back with a pusher or stick, and work on them using drill bits, for example 9, 1. Use a 100/180 grit file to shorten the free edge and be able to adjust the form better. Next, using a 100/180 grit polisher, carefully mat and smooth the plate, and remove dust with the use of a soft brush. Reach for a dust-free wadding swab and purple Cleaner and carefully degrease the plate. Cover the degreased plate with an acid free primer or acid primer. Peel off the form, cut it at the top, and roll it to round the tunnel. Put the template on the nail and check how to adjust the form to the shape of the natural nail plate. Cut out an appropriate rounded shape on the template and put the template under the nail in such a way that the middle line on the template is in the middle of the nail. Next, make cuts at the edges of the template in order to obtain a precise tunnel. Having cut off the form, glue the ‘egg’ on at the bottom of the form, to strengthen it. Put the prepared template under the nail, glue it symmetrically at the bottom, and fasten the form so that the elongation is straight. A well-fastened form remains stable on the finger.

